I rendered the same edit twice last week, and the difference was one bypass button. The bassline was the same. The stem prints were the same. The only change was pulling the limiter out of the chain and doing the final squeeze with a clipper ahead of it, and the kick came back. Not louder. Present. That distinction is the whole article.
Disco edits live and die on drums. You have a four-bar loop lifted off a Hilda Garman 12-inch, some tape hiss you decided to keep, and a kick that has been through a Studer, a sampler, and someone’s 1983 idea of a mixdown. By the time it reaches your master bus it is soft and round and a little bit smeared. Slam a limiter on that and you get a pump that eats the kick’s leading edge, the snare turns to a click, and the whole groove starts breathing in time with the gain reduction meter. I have made that mistake more times than I want to count.
What the limiter actually does to old drums
A limiter is a fast, transparent-looking compressor with a very short release. On modern EDM it is doing fine work, shaving peaks that the arrangement already accounts for. On a disco edit the peaks are not evenly distributed. The kick and snare hit together on the one, the hi-hat lands off the grid because it was played by a human, and the bass has a pulse that pushes into the same moment. The limiter sees a cluster of transients and clamps them all at once.
That is where the pump comes from. The mastering advice I keep coming back to is the same point in different words: if you take the clipper out and compensate with the limiter, you will hear pumping or distortion creep in when you level-match back to the same loudness. The fix, in that chain, is to knock the peaks down 2 to 4 dB using a clipper up front and let the limiter mop up the remainder. The limiter stops getting slammed, and the transient shapes survive.
For disco in particular I would push that idea further than the rock and EDM crowd would. The drums are the arrangement. If they pump, the record is broken.
The chain I am actually using
Here is what sits on my master bus when I render a Hilda edit. It is not exotic. It is not the FabFilter stack that gets recommended in every mastering article, though I have used Pro-L2 and it is genuinely clean when you treat it gently.
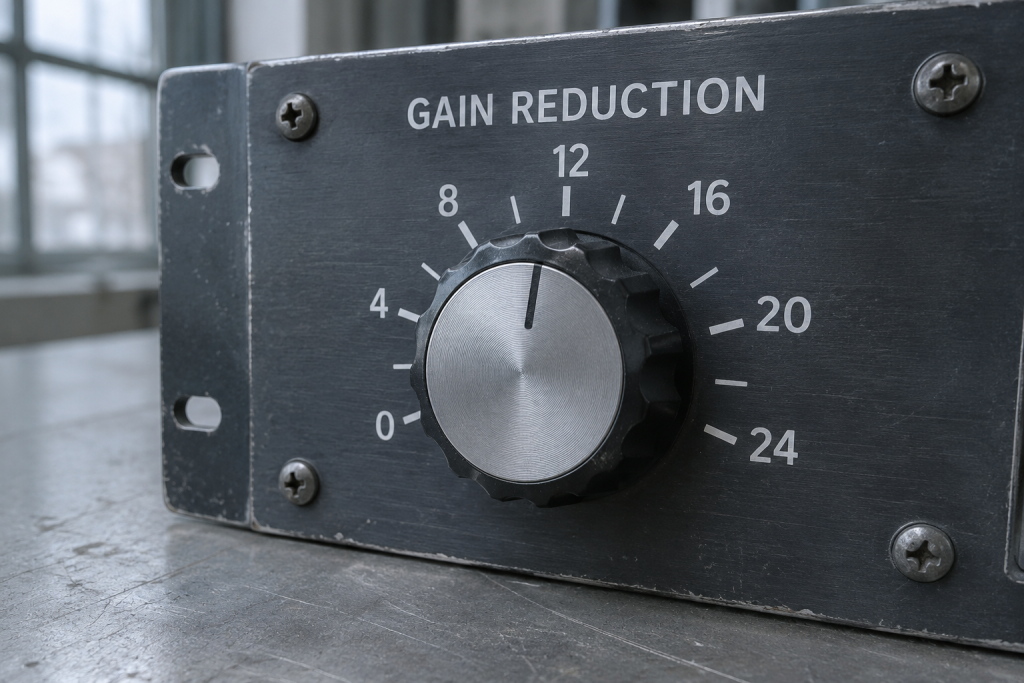
- Mid/side compressor first. Compress the mid, leave the sides alone. That widens the stereo image and pulls the kick and vocal into focus without touching the wide tape noise that gives the edit its texture. I usually let the needle kiss the first mark on the meter, no more than a hair past it.
- Clipper, trimming the loudest peaks by roughly 2–4 dB. Fast, dumb, and the single biggest difference in this chain. Look at the kick transient and let the clipper round the very tip of it. You are not distorting the body of the drum, just removing the spike the limiter would otherwise crush.
- Limiter, gentle. Now the limiter sees a signal with fewer surprises. I let it do 1 to 2 dB. Nothing more. I want to hear the limiter working, not feel it.
- Output gain down. Always. Save yourself the check-render later.
Yes, you can stack two limiters. I have done it, and I understand why people do: the processing splits between them, each one works less, and you get the timbre of both. But for a disco edit I would rather put that second stage into the clipper and keep the limiter transparent.
Attack, release, and why 20ms is usually wrong here
The reference chain I trust uses a 20ms attack and a 40 to 100ms release, which is fine for modern material where the transient is a clean digital spike. On an old disco drum the transient is already rounded by the recording chain. A 20ms attack lets the very front through and then clamps the body, which is exactly backwards from what you want. Try 5 to 10ms and let the clipper handle the tip instead. Release stays in the same ballpark, 50 to 100ms.
This is not a rule. It is a starting point. The moment I stopped setting the limiter by the book and started setting it by watching the kick return to the meter, the edits got better.
Two limiters, and the loudness trap
Streaming services are not rewarding extreme loudness the way they were ten years ago. A master that is loud for the sake of loud is worse than a master that is dynamic and confident. Disco edits sit in an awkward position here: the source material is not loud, the edits are supposed to feel vintage, and yet they need to hold up next to a modern house release on the same playlist.
The clipper-then-limiter approach gets you most of the way. You can hit competitive levels without the limiter doing the ugly work, because the clipper dealt with the transients and the limiter only sees the residual. That is the difference between a master that reads as loud and one that reads as smashed.
If you do stack limiters, put the cleaner one first and the warmer one second. That is not a scientific rule, but it is the order where I have consistently heard less pumping. Try both and trust the kick.
What this method will not fix
I have to say this plainly. No master chain rescues a bad edit. If the multitrack is soft, if the hi-hat is smeared, if the arrangement was not there to begin with, the clipper and limiter are finishing, not repairing. A louder master will not fix a record that is wrong in the parts, and the artifacts will just be easier to hear.
That is worth remembering if you ever take the lazy route with a render. Export the multitrack. Keep the stems. A rendered stereo file cannot be un-baked, and no amount of clever processing gets the separate parts back. This is the same reason stem separation on a finished mix is a bad idea: you are polishing a problem you created by not keeping the parts. Keep the parts.
Rendering settings, plainly
When I am ready to commit, I print at the session sample rate, 24-bit, no dither until the final print. I keep the limiter and clipper in the render, not as a separate mastering pass, so the file I hand over is the file I decided on. The clip meter is the only thing I trust for peak detection. I let the output sit around -1 dBTP and do not chase 0.
The one bit of discipline that matters more than any plugin setting: render with the limiter bypassed and listen. Then render with it in. If the drums lose their leading edge in the second version, you went too far. Pull the limiter back 1 dB and try again. That comparison will teach you more about your particular edit than any article, including this one.
The drums are the whole record. Treat the limiter like it might break them, because it will.